How to Upgrade SSD
2013-2017 MacBook Air
Background:
Shit tons of details: https://beetstech.com/blog/apple-proprietary-ssd-ultimate-guide-to-specs-and-upgrades
My summary: The original SSD in these computers has a proprietary connector, commonly called a 12+16 (referring to pins). Apple did this to prevent people from replacing quality drives with cheap crap but it makes replacement difficult -_-.
The 2015 11" MacBook Air has a slower SSD than the 13" but both can be upgraded to larger and faster drives >:)....
Option 1:
Search online for used OEM drives. This is expensive but would be the most reliable option.
Option 2:
Find a company that makes the infamous 12+16 SSD. There are a few quality ones out there and they can be found by searching for a MacBook Air SSD upgrade kit.
Option 3:
Adapt and overcome. Now you can find adapters that allow you to use a standard SSD in place of the proprietary one. In my mind, this is the hackers best option and the one I'll be covering. Typically, people are seeing read/write speeds about 2x faster than with the original drives.
How To Actually Do This
- Upgrade your Mac to Mojave 10.13 (or newer), this supports PCIe NVMe SSD's and allows us to do the hack.
- Purchase adaptor. (Sintech NGFF M.2 nVME SSD Adapter)
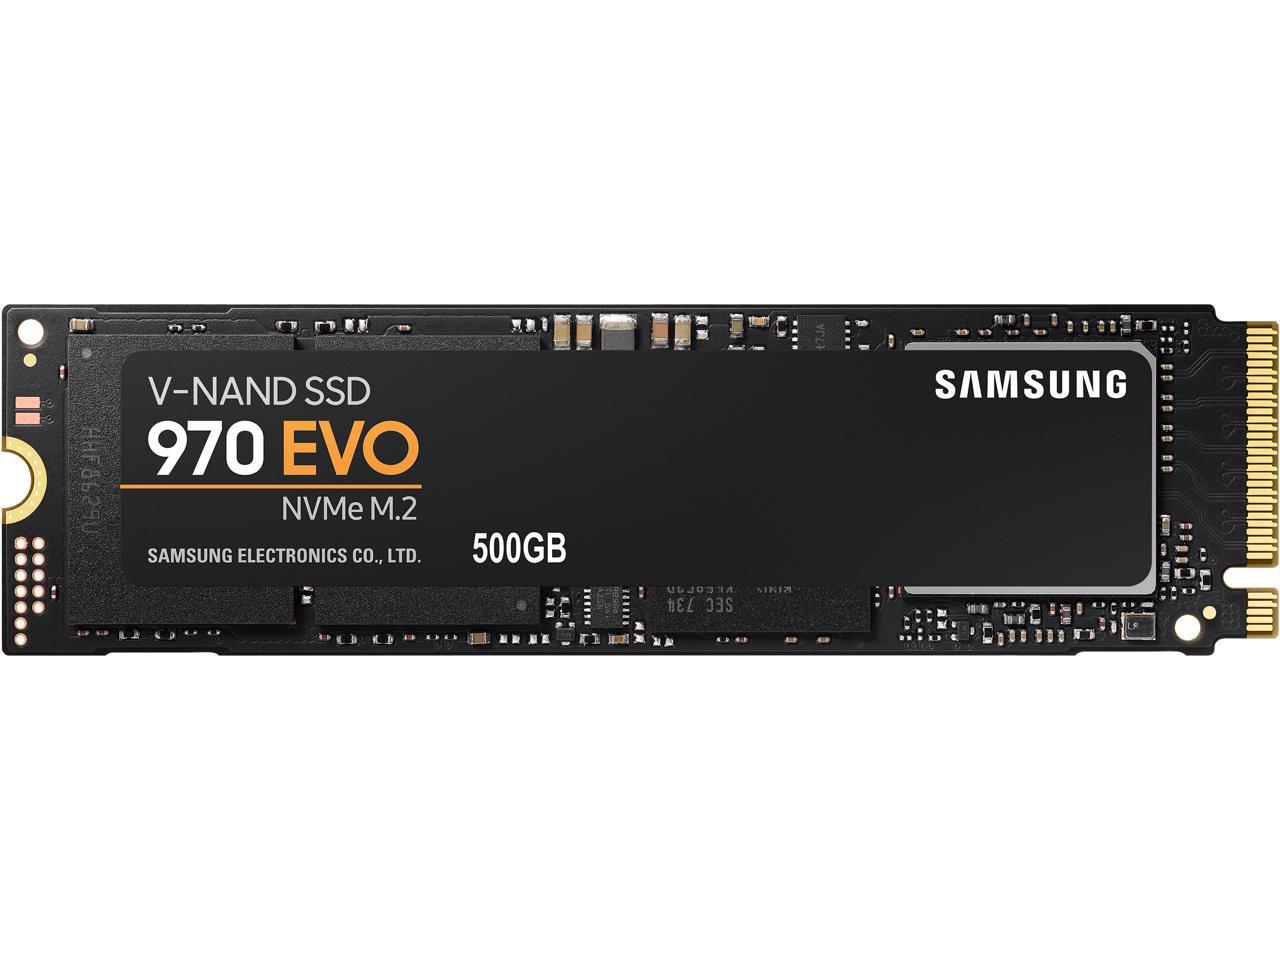
- Purchase the right SSD for the adaptor you bought. (PCIe NVMe)
- Don't make the mistake of inserting the new ssd right out of the box. OS and disc formatting need to be done first.
- Connect ssd via cable to a Mac. (Ssd icon shows on desktop)
- Disc Utilty/ Erase ssd then partition ssd and give it a name.
- Insert flash drive with bootable OS ( icon appears on desktop)
- Click on OS icon. Disc Utility/ Install OS then select Show all disks
- Click on new SSD and install.
- Use time machine to backup all your stuff on your Mac just to be sure.


Do the hardware swap, plug in your USB stick with Time Machine backup.
Turn the Mac on, restore from Time Machine Backup.
...Wham, bam, thank you ma'am.
